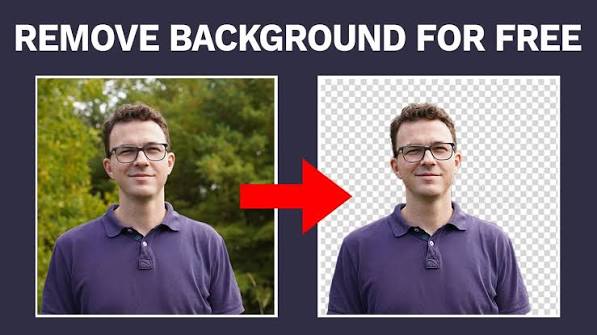
Remove A Photo Background Without Any Subscription
The Subscription Trap
Plenty of websites will cut out a background for free exactly once. Then they ask for a monthly plan or they stamp a watermark. Some charge per image which adds up very fast. A local tool avoids all of that nonsense.
Three Different Modes
The background section offers automatic colour key and global modes. Automatic detects the border colour entirely on its own. Colour key removes one colour you choose where it touches the edge. Global removes that colour from the entire picture.
How Automatic Detection Works
The tool samples a thin band around all four edges of the image. It counts which colour appears most often inside that band. Then it treats that colour as the background. A flood fill spreads inward from the border only.
Why Flood Fill Is Smarter
A simple colour filter would punch holes straight through your subject. If your shirt happened to match the background it would vanish. Flood fill only removes pixels connected to the edge. The middle of your subject stays completely safe.
Pick A Colour By Eye
Switch to colour key and press the small pick button. Now click anywhere on the picture to sample that exact pixel. The swatch updates and shows the rgb value. This is the fastest way to handle an odd background.
Tune The Tolerance
Tolerance controls how far from the target colour still counts as background. Low values protect subtle shading on your subject. High values clean up uneven lighting and soft shadows. Start low and raise it until the fringe disappears.
Soften The Edge
Real photographs rarely have a perfect edge. The edge softness slider creates a gentle gradient instead of a hard cut. Feathering blurs the alpha channel by a few pixels. Together they remove that harsh sticker look.
Kill The Colour Halo
Bright backgrounds often leave a pale outline around the subject. The de fringe option fixes exactly this problem. It replaces the colour of semi transparent pixels with colour borrowed from nearby solid pixels. The result looks natural against any new background.
Check On The Checkerboard
The preview canvas sits on a checkerboard pattern. Every square you can see through is transparent area. Drag the split handle to compare against the original. Zoom in to inspect hair and fine fabric edges.
Transparency Needs The Right Format
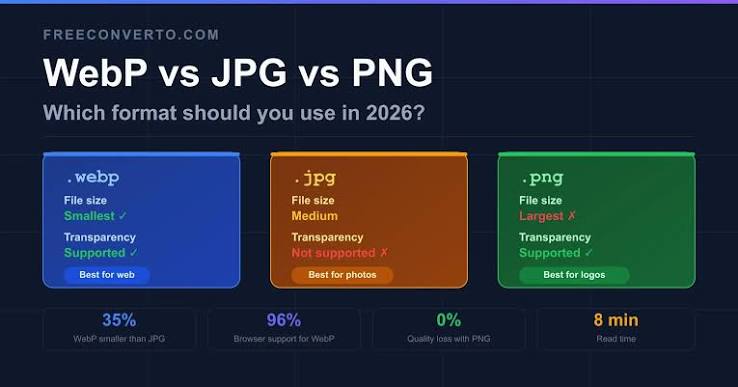
Save as PNG or WebP to keep the transparent area intact. JPG does not support transparency at all. When JPG is selected the editor fills the empty space with a matte colour you choose. White is the usual choice for marketplaces.
Perfect For Product Shots
Sellers shoot items on white or light grey sheets. Automatic mode handles those in a single pass. Logos screenshots and signatures also work beautifully. Complex scenes full of trees and hair will need more manual care.
Nothing Leaves Your Device
The entire operation runs in javascript on your own screen. No account is required and no credits are ever consumed. You can process a hundred images in one afternoon. That freedom is worth more than any free trial.

Welcome to Image-editor — image-editor.gitapp.si. Here I share guides, articles and updates. Thanks for visiting!
Related Posts

Leave a Comment
No comments yet — be the first to comment!