One Evening Workflow From Raw Camera Files To A Ready Website
The Usual Mess
A camera or a phone produces large files with long awkward names. A website needs small images with predictable dimensions. Between those two states there is usually a lot of boring work. This workflow removes almost all of it.
Step One Gather Everything
Copy every picture you need into one folder on your desktop. Do not worry about names or order just yet. Open the editor html file in your browser. Drag the whole folder onto the window and wait for the queue to fill.
Step Two Trim The Queue
Look through the thumbnails and remove anything you do not need. Hover an item and press the small cross to delete it. Click an item to make it the active preview. The queue keeps everything else exactly in place.
Step Three Set The Size
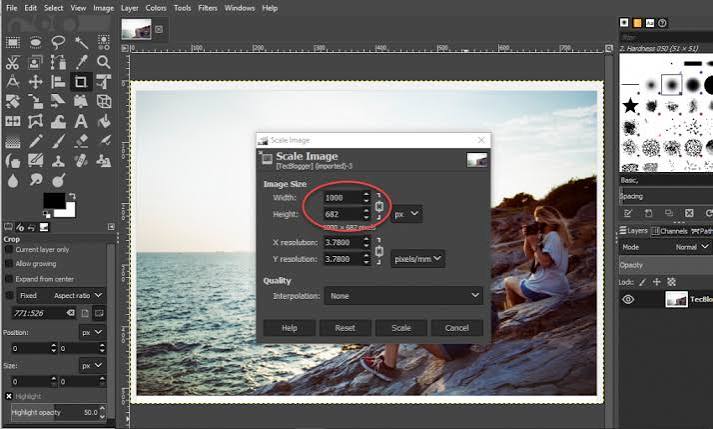
Open the resize menu and pick the longest side option. Type the maximum width your layout supports such as 1600. Make sure the never upscale switch stays turned on. Every image in the queue now shares one sensible limit.
Step Four Pick A Format
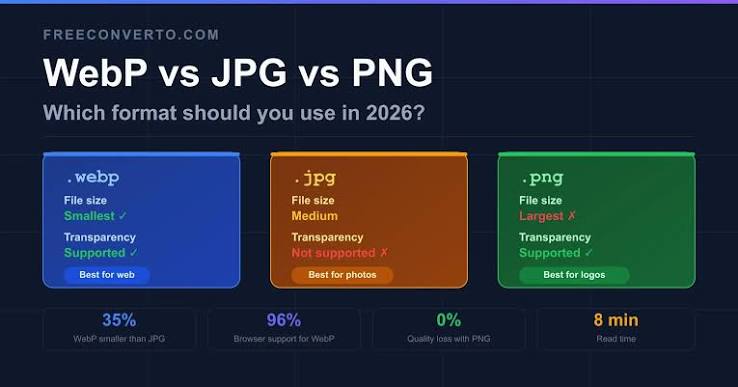
Choose convert to WebP for a modern site. Set the quality to around 80. If your host or your audience is old fashioned choose JPG instead. Leave the format on keep original if the folder is already mixed and you only need smaller dimensions.
Step Five Optional Cutout
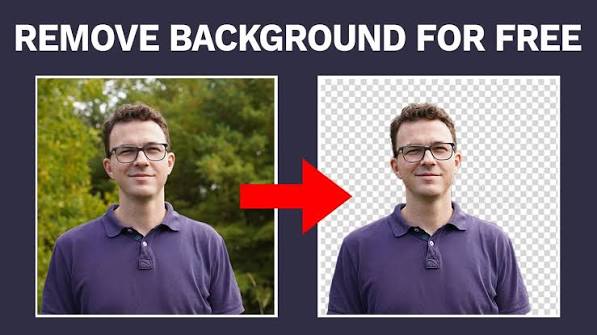
Product images often look far better with the background removed. Switch on the background remover and leave it in automatic mode. Check a few previews and raise the tolerance where it is needed. Items shot on plain sheets will clean up instantly.
Step Six Verify One Image
Click through the queue and watch the numbers change. The dimensions label confirms the new pixel size. The result field shows the encoded file size. The saved percentage tells you whether the settings are working well.
Step Seven Compare Carefully
Use the split slider to wipe across a detailed photograph. Look closely at text edges foliage and skin tones. If quality dropped too far raise the slider and check again. This takes seconds and prevents a bad batch.
Step Eight Export The Batch
Press the process all and zip button and let it run. The button counts through the queue so you can watch progress. A zip archive downloads the moment it is finished. The files inside are numbered in the order you loaded them.
Step Nine Upload And Test
Drop the extracted files into your site media folder. Open a page and check how quickly it loads. Most sites feel noticeably faster after this pass. Your visitors notice even when they cannot explain why.
Why It Takes One Evening
There is no install step and no confusing export dialogue. There are no accounts no uploads and no waiting queues. The browser does the heavy lifting on your own hardware. What used to fill a weekend now fits after dinner.
Keep The File Handy
Put the html file somewhere you can find it again. It works offline and it never expires. Share it with teammates who struggle with image tasks. They will thank you the first time they need fifty pictures ready by morning.

Welcome to Image-editor — image-editor.gitapp.si. Here I share guides, articles and updates. Thanks for visiting!
Related Posts
Leave a Comment
No comments yet — be the first to comment!