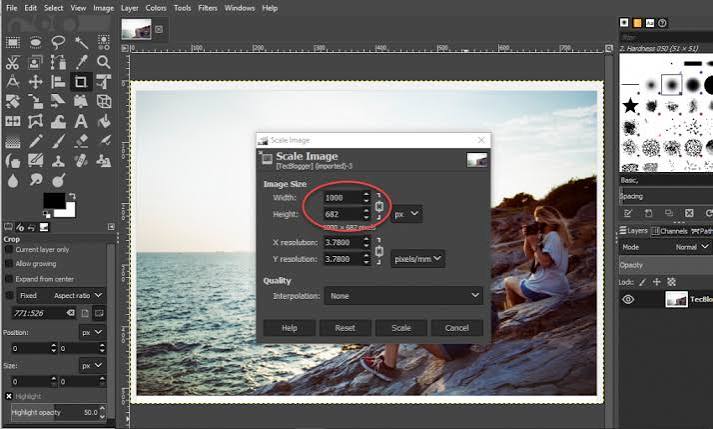
How To Resize Hundreds Of Photos Without Losing Quality
Start With A Clear Target
Before you touch any slider decide where the photos will live. A blog banner needs different dimensions than a tiny thumbnail. Write the target width down first. Every other choice becomes easier once that number is fixed in your mind.
Load Everything At Once
Click the add images button and select as many files as you like. The queue appears on the left with a small preview of each picture. You can also drag a whole folder onto the window. Pasting from the clipboard works just as well.
Choose A Resize Mode
The resize menu offers six different modes. Percentage scales every image by the same factor. Width or height sets one side and protects the shape. Fit inside box and longest side are the safest choices for a mixed folder.
Keep The Shape Intact
The lock aspect ratio switch is on by default. It stops pictures from looking stretched or badly squashed. If you turn it off you can type an exact height as well. That is useful for fixed banner slots on a homepage.
Never Upscale By Accident
The never upscale option protects small images from being enlarged. Small files look soft the moment they are stretched to a bigger size. With this switch on a small picture simply keeps its original size. Large pictures are still reduced exactly as you asked.
Even Numbers Help Video
The make dimensions even option rounds each side to an even value. Some video editors and codecs strongly prefer even pixel counts. Turning this on costs nothing and avoids strange errors later. It is a small detail with a real payoff.
Watch The Preview Change
The centre canvas redraws itself a moment after you type a value. The dimensions label under the output panel shows the exact result. You can zoom in to check whether fine detail survived. Nothing is saved until you ask for it.
Settings Apply To The Whole Queue
There is no need to edit images one by one. Every setting you choose is global. When you export the whole queue each file is processed with the same rules. This is precisely what makes large folders practical.
Check The Size Saving
Each queue item shows its original size and its new size together. Green text means you saved space. You can spot a stubborn file immediately and adjust the quality slider for it. The feedback loop is pleasantly short.
Export In One Click
Press the process all and zip button to begin. The button shows progress as it moves through the queue. When it finishes a zip archive downloads automatically. Inside you will find every image neatly renamed in order.
Quality Comes From Good Resampling
The editor uses the browser canvas with high quality smoothing enabled. Downscaling with this method keeps edges clean and text readable. Photographs keep their detail instead of turning mushy. That is why resizing here looks better than quick online converters.
A Simple Routine
Load the folder then pick longest side then set the format then export. Those four steps cover almost every real job. Once you do it twice the whole thing takes under a minute. Speed like this quietly changes how you work.

Welcome to Image-editor — image-editor.gitapp.si. Here I share guides, articles and updates. Thanks for visiting!
Related Posts
Leave a Comment
No comments yet — be the first to comment!